Creating Your First Agent
Learn how to create, configure, and deploy your first AI agent in minutes.
Creating Your First Agent
Building an AI agent is the first step to automating your workflows. This guide will walk you through the simple process of creating a new agent.
1. Accessing the Agent Creation Page
From the dashboard, click on the "Create Agent" button in the top right corner or navigate to the Agents section.

2. Describe Your Agent (Required)
The only required step to create an agent is to describe what you want it to do. The system will use this description to infer the best agent profile, craft a strong system prompt, and select the most appropriate AI model for the task.
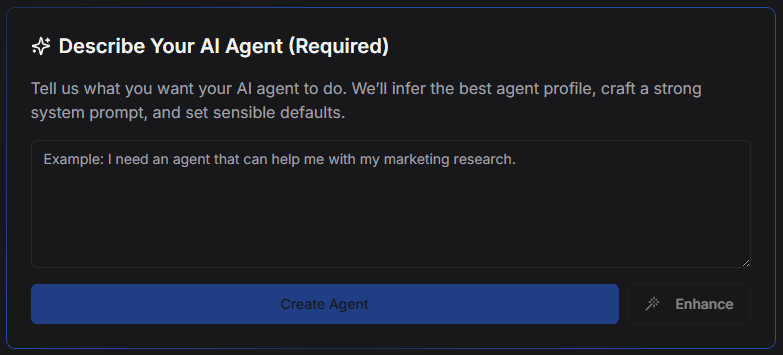
[!TIP] Enhance Your Prompt: You can use the "Enhance" button to automatically refine your description into a more effective system prompt.
3. Naming Your Agent (Optional)
You can give your agent a specific name. If you leave this field blank, the system will automatically generate a creative name based on the agent's description.

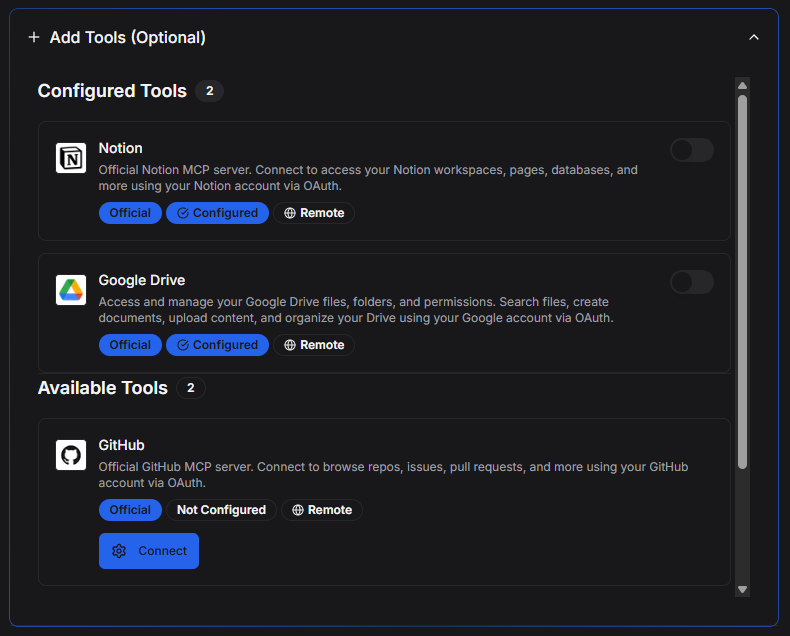
4. Adding Tools (Optional)
You can equip your agent with tools to interact with external services (like Google Drive, Email, etc.).
- If you add tools during creation, the system will automatically update the agent's prompt to include instructions on when and how to use these tools.
- If no tools are added, the agent is created with general tool use capabilities.
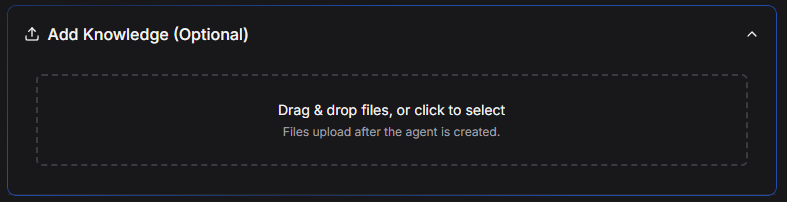
5. Adding Knowledge (Optional)
You can upload documents or add text snippets to your agent's knowledge base right from the start. This gives your agent specific context or information it needs to perform its tasks.
6. Starting from a Template
Alternatively, you can choose from a variety of pre-built templates to get started quickly with common agent types like "Market Research Analyst" or "Content Strategist".

7. Finalizing Creation
Once you're ready, click "Create Agent".
- Model Selection: The system automatically selects the best model for your agent's purpose.
- Memory: Long-term memory is enabled by default, allowing the agent to learn from conversations.
After creation, you will be taken to the chat interface where you can test your agent. You can always modify any of these settings, including the model and system prompt, in the agent's configuration settings later.